 |
| Table top edging installation |
After a few weeks off the project to take care of other things like work, Ironman (more on that in an upcoming post), and a broken down table saw, I'm back on it again. The two primary table surfaces were completed a few weeks ago and the edging pieces ripped and rough cut, but when it came time to cut the miters the bevel adjustment on my table saw broke down. The saw is now in pieces in the shop waiting for me to get it fixed and put back together again. In the meantime I decided to finish things up using the chop saw... which for what I have to do now works just as well.
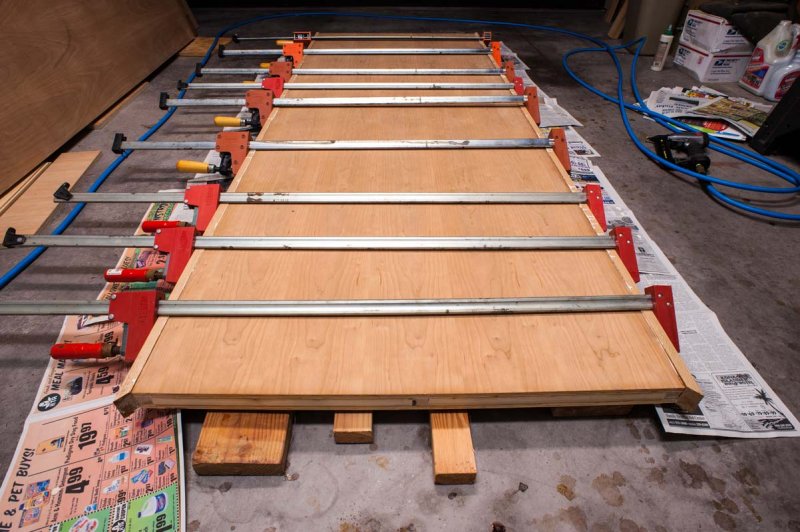
So this past weekend I cut, mitered, and fit the edging for the smaller of the two tables, and tonight glued the long pieces on. In any one-man shop work on large and heavy pieces is often tricky if not downright difficult. These tops are now too large and heavy for me to lift onto sawhorses so I've laid 2x material with carpet scraps over them so work can be done on the floor. What isn't shown in the images are temporary support pieces I clamped at each of the corners to support edging while they were being glued on and the clamps set.
Tomorrow night the end pieces will be glued on. That clamping setup will also require a bit of trickery because the top is longer than any clamps I own... including my long pipe clamps. But I've been faced with this before so I know the drill.
Slowly but surely this project moves forward.
 |
| Edging installation |
Coming along nicely!
ReplyDelete