 |
| Table Saw Inverted |
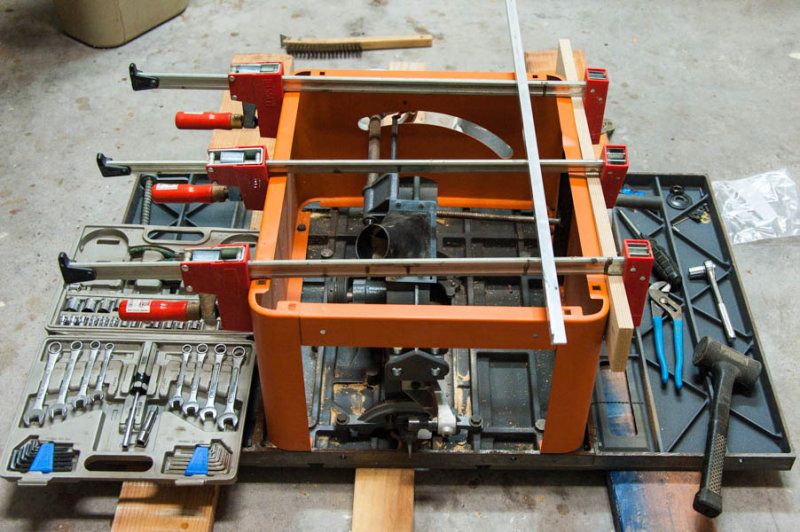
So for the first time since it came out of the box and got assembled it had to be torn down for repairs. The rails came off, the motor came off, and the whole thing flipped upside down for access. At this point I was able to take the base off, unbolt the arbor housing from the surface castings, reseat the bevel movement rod, and get things in order again. But the siding sheet metal was still deformed, so clamps you see above were used to restore the shape. As good as things looked it was pretty apparent that the problem would happen again soon without an after-market improvement. The solution I came up with was to fabricate a support piece made of angle iron.
But I bought two shapes to experiment with: a section of aluminum and one of steel. I figured if the aluminum was strong enough it would be the easier material to work with. So I cut it to length, drilled the holes, and bolted it up. Unfortunately the force of the bevel movement was too strong and the aluminum showed deformation. So tonight I took it off and refabricated a similar piece using the steel.
The aluminum would have been good enough unfinished, but with the humidity around here steel has to be painted. So after drilling out the holes, cleaning and prepping I put a couple coats of "Rigid Orange" (a reasonable facsimile) on it. By tomorrow night the paint will be dry enough for installation. And this weekend I should be able to get everything back on so it's all ready to use again.
And *then* I'll be able to complete the last small work surface and the runners for the cpu cabinet. I've fallen behind on this project... but it's a journey, not just a destination.
More on the completed repairs soon.
 |
| Base & Legs |
So, you didn't back over it! Glad it hear it. Is the picture showing the repair? Glad you figured out the problem and will be able to use it again!
ReplyDeleteGood Job - barry
ReplyDeleteAll the top photo here shows is the arbor rod rethreaded in the arbor assembly. You can see that rod near the top of inside cabinet extending from the arbor to the right side. At this point the steel angle iron hasn't been bolted on yet. The paint was still wet.
ReplyDelete